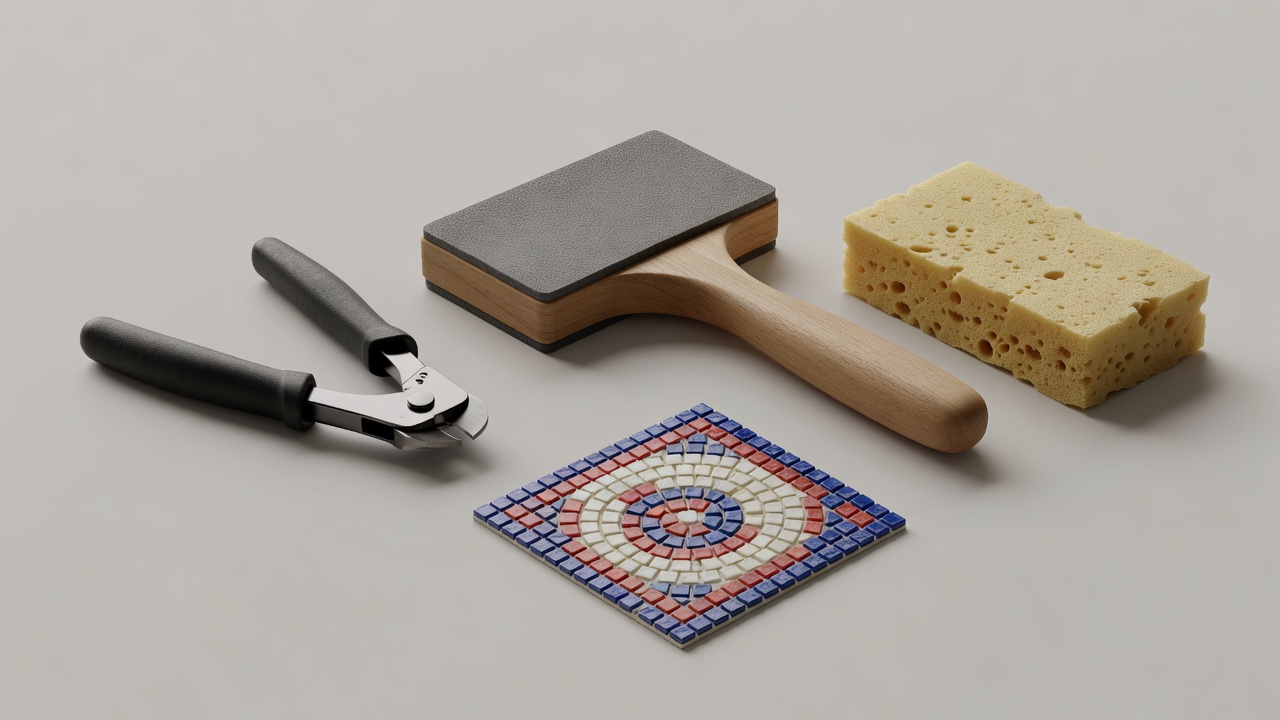
Choose tools for the actual material
You can complete a first mosaic without cutting anything. Smooth, pre-cut tesserae remove an entire stage of tool choice and fragment control. When a later project needs shaped pieces, match the cutter to the material and thickness. Wheeled glass nippers and ceramic tile nippers are not interchangeable for every job. Follow the tool manufacturer's instructions and practice on expendable, known material.
Set up a contained cutting area with a stable surface and eye protection. Direct fragments away from yourself and others. Use suitable hand protection where recommended, remembering that gloves do not eliminate puncture or cut risks. Keep your free hand clear of the cutting path, and stop when a piece is too small to hold safely. Do not force oversized or unsuitable tile through a small hand tool.
Prepare for a reliable bond
A bond is only as reliable as the material beneath it. Remove loose contamination using a method suitable for the substrate; do not bond onto dust, grease, peeling paint or a failing coating. Check whether the chosen system requires a primer or other preparation. An absorbent base and a nonporous glass tile may require a different approach from glazed ceramic on a mineral panel.
Use adhesive for the intended combination of substrate, tesserae and exposure. A general craft glue is not automatically suitable for occasional moisture, outdoor use or a heavy wall panel. Read the technical data as well as the front label. If instructions from different products conflict, ask the manufacturers or choose a documented compatible system rather than mixing assumptions.
Place with a rhythm you can repeat
Dry-fit the design and decide how the lines will flow. Mosaic makers sometimes call that directional flow “andamento.” A simple border can establish it without complex drawing. Maintain joint widths within the grout manufacturer's limits and leave any necessary movement joints free of rigid material. Similar tile thickness makes flat functional surfaces easier to achieve.
Apply adhesive only to an area you can complete within its open time. Press pieces into the required bed and coverage, then inspect their height and spacing while adjustment is still permitted. Clean excess adhesive from joints before it hardens, using a safe compatible method. Leave the assembly level, supported and undisturbed through the specified cure.
Grout a sample before the finished piece
A sample tells you more than a color card. Dark grout can stain porous pieces; some aggregates can scratch delicate finishes; textured surfaces can hold residue. Use spare tesserae and your actual adhesive to build a small test. Check whether the tile needs a manufacturer-approved pre-treatment, without contaminating the edges or bond surfaces.
Prepare only a manageable quantity of grout. Measure and mix as directed, including any rest and remix stages. Do not add extra water to restore a batch that is setting unless the product expressly permits it. Powder handling needs dust control, and cement-based products need protection against skin and eye contact. Resin-based products have their own handling and cleanup requirements.
Work grout into the joints using the appropriate tool, then remove excess at the stated stage. Keep the sponge or cloth at the recommended dampness; flooding can weaken or discolor some products and wash joints low. Follow the cleanup window carefully. Leave the project protected for the full cure, and use a sealer only where the manufacturer calls for or permits one.
Troubleshoot the cause, not just the mark
Why did a piece come loose?
Possible causes include surface contamination, unsuitable adhesive, movement, insufficient coverage or premature handling. Remove the object from use, identify the cause and follow a compatible repair method. Grout is not a substitute for bonding adhesive.
Why are there pinholes or low joints?
Incomplete packing, trapped air, excess mixing water or overly wet cleanup may contribute. Check the product guidance before repairs. A thin surface smear over an unsound joint may not bond reliably.
What should I do about grout haze?
Identify the grout and tile before choosing a cleaner. Follow the stated cleanup and cure guidance. Test any approved cleaner on spare material; acids and abrasive pads can damage many surfaces.
Why has the grout cracked?
Look for substrate flex, movement, incompatible joint details or curing problems. Regrouting alone will not correct a moving base. Stop handling or using an unstable piece until the underlying problem is resolved.
Finish with an inspection and a record
Check exposed edges, tile security, object stability and the underside before use. Record the substrate, product names, mixing choices and curing conditions. Dispose of waste according to product labels and local rules; do not wash grout solids into drains. A clean, documented finish makes the next project more predictable and future repairs more informed.