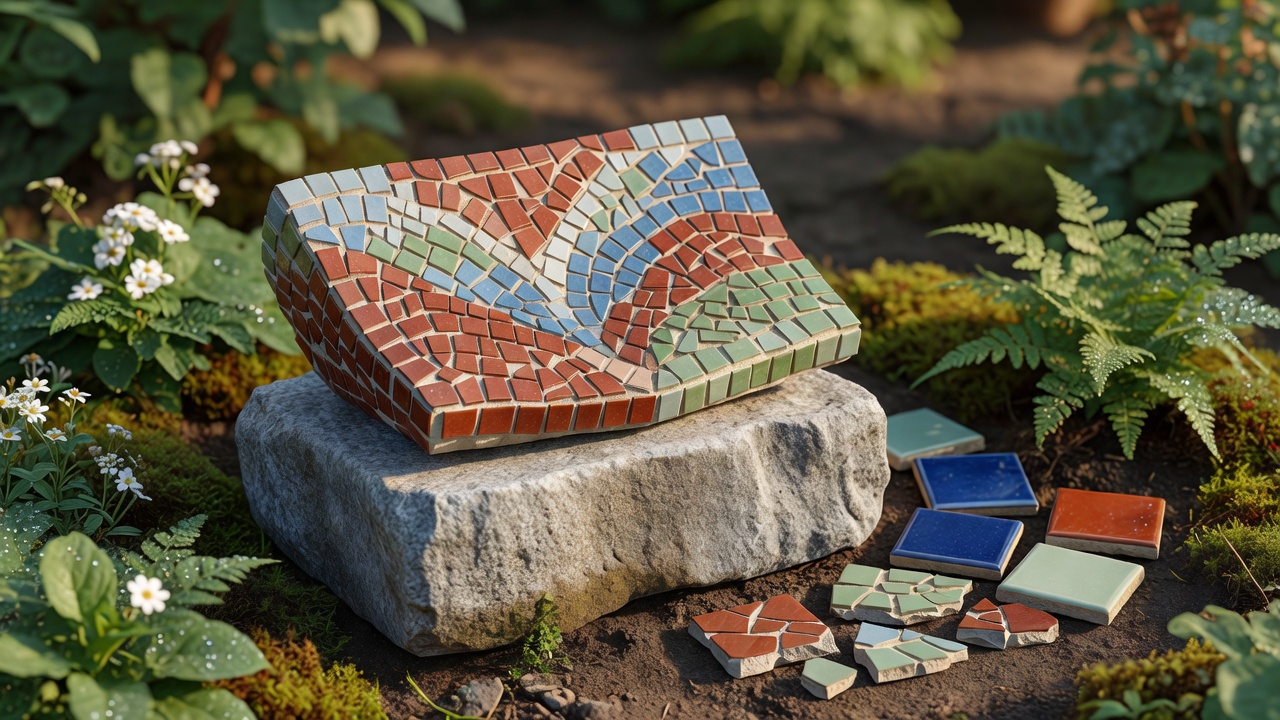
Define the exposure before the pattern
“Outside” can mean a covered porch, a wet flower bed or a place that freezes repeatedly through winter. Write down where the ornament will stand, whether rain can reach its back and edges, and whether it will remain outdoors all year. A material that performs well in a dry sheltered corner may fail in standing water or freeze–thaw conditions.
For a first outdoor project, choose a small decorative ornament on a stable, nonstructural base. Avoid stepping stones, seats, overhead features and water-holding vessels. Those uses introduce load, slip, installation or water-quality requirements beyond this beginner lesson. A compact object on a secure stand lets you learn without making anyone's safety depend on the finish.
1. Select a compatible outdoor system
Choose a rigid base explicitly suited to the exposure and the adhesive. A mineral base may be appropriate, but it still needs sound surfaces and correct preparation. Avoid moisture-sensitive board, crumbly concrete and cracked terracotta. Porous pots can pass water through their walls, so a decorative tile layer on the outside does not necessarily protect the bond.
Select tesserae supported for exterior use in your climate. Where freezing is possible, obtain specific frost-resistance information rather than judging by appearance. Check the suitability of glass coatings, backings and mesh mounting as well as the tile itself. Water can attack a vulnerable backing even when the visible tile looks intact.
Read the adhesive and grout technical information together. Confirm substrate compatibility, exposure limits, working temperatures and cure requirements. Product classifications such as EN 12004 or ANSI A118 can help describe certain tile adhesives, but a classification alone does not establish that your entire project is suitable. The manufacturer's application instructions remain essential.
2. Design for water to leave
Look at the ornament from above and below. Avoid cups, hollows and upward-facing seams that hold rain. Keep planned drainage paths open, and do not bridge an existing movement joint with tile. An outer mosaic layer is not a substitute for a properly designed waterproofing system where one is needed.
Consider the back and perimeter as part of the design. Water entering behind a beautifully finished face can still cause failure. Follow the base and adhesive system's edge details rather than applying an unrelated coating everywhere. A sealer may reduce staining or water absorption on a compatible surface; it does not turn a weak assembly into a waterproof one.
3. Arrange and bond in a protected workspace
Dry-fit a simple pattern and reject pieces with cracks or sharp projections. On a curve, smaller tesserae usually follow the shape more easily, but the resulting joints must still meet the grout's requirements. Test a sample before covering the entire object. Check that the base remains balanced after the extra material is added.
Prepare the substrate and apply adhesive as instructed, aiming for the specified coverage without leaving avoidable voids that could collect water. Work within the product's open time. If adhesive skins over, do not simply press tiles into it and hope for a bond. Follow the manufacturer's correction method and keep the assembly stable while it cures.
4. Grout, cure and install thoughtfully
Grout only when the adhesive is ready, using a product suited to both the joints and exposure. Clean with controlled water and avoid washing material out of the gaps. Protect the object from rain, freezing temperatures, strong sun and rapid drying for the period stated by the products. Weather protection should not conflict with required ventilation or curing conditions.
Install the fully cured ornament on a secure, level support where it cannot fall, roll or create a trip hazard. Keep it away from routes used by children and pets if there are breakable surfaces. If your material information does not support winter exposure, bring it into a suitable sheltered location before freezing conditions begin.
Inspect before each season
Look for loose tesserae, new cracks, hollow areas, movement and persistent dampness. Remove an unstable ornament from use rather than leaving sharp fragments where someone may find them. Investigate drainage, substrate condition and material compatibility before repairing. Replacing the visible grout without addressing the source of movement or water entry is unlikely to provide a durable solution.
Keep the labels or product names with your project notes. Knowing the actual system makes maintenance decisions more reliable than remembering that you used “outdoor glue.” Start small, observe how the object behaves, and let that experience inform a more ambitious garden piece.