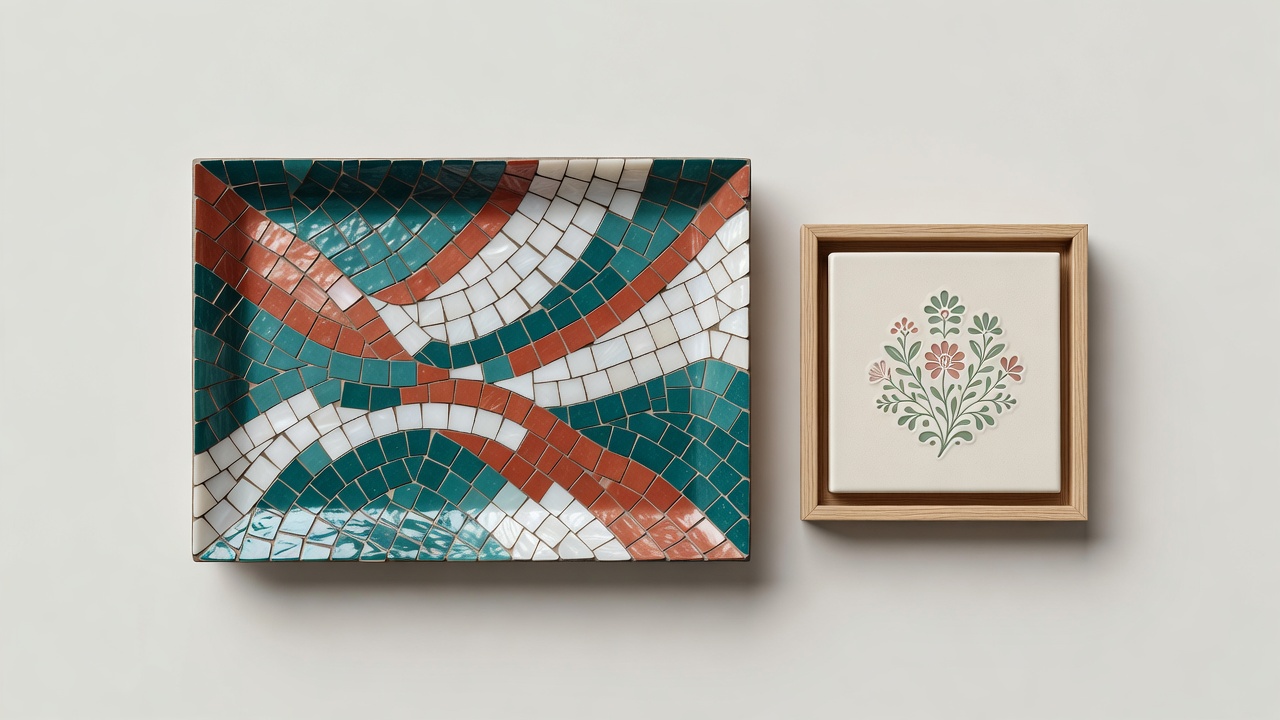
Start with the tray, not the tiles
A tray carries weight through its handles and base. Adding ceramic, adhesive and grout changes that load, sometimes substantially. Choose a sound, rigid tray with securely attached handles and a surface compatible with your adhesive. If the base flexes when lifted, reserve it for another craft. A decorative mosaic is not a repair for weak joints, loose handles or a damaged frame.
Decide whether the finished object will sit on a shelf or carry light, contained items. Keep food in separate dishes and avoid claims of food safety unless every relevant material and intended use is specifically supported by its manufacturer. Do not use the tray as a cutting board, trivet or dishwasher-safe serving surface. Protect nearby furniture from moisture and abrasion.
1. Map the useful space
Measure the flat inner area and mark the positions of handle fixings or other features you must not cover. Dry-fit a border before filling the center. Leave an intentional gap at the perimeter as required by the material system, and avoid burying a timber rim in grout. Different materials can move differently; a rigid grout edge is not always the right joint detail.
Place a lightweight mock-up of your design inside the tray and lift it empty to check your grip. Keep tile height below any rim that needs to retain loose objects. Use tesserae with similar thickness so glasses or small containers do not rock. A paper plan makes it easier to repeat a motif without repeatedly handling wet adhesive.
2. Place, cure and finish in sequence
Prepare the substrate as directed by the chosen adhesive manufacturer. Do not automatically seal, sand or prime it with unrelated products. Bond manageable sections, check alignment as you go and keep the joints clear enough for the planned grout depth. Allow the entire assembly to cure on a flat surface before moving to the next stage.
Test grout on spare pieces to check staining, scratching and cleanup. Protect a finished rim with a compatible method, keeping tape away from delicate coatings when necessary. Grout and clean according to the label, avoiding excess water around moisture-sensitive edges. Wait through the required cure before fitting protective underside pads or putting the tray into decorative use.
Frame a pattern on a separate panel
For wall art, begin with a small rigid backing rated for the adhesive and the finished load. Many ordinary picture-frame backs are too thin or flexible for a heavy mosaic. Design the mosaic as a panel rather than assuming the frame will provide structural support. Keep any fragile or exposed edges away from handling points.
Dry-fit the panel in its frame before bonding the tiles. Allow space for the full thickness of the mosaic and any retaining hardware. A frame should not press hard against tile faces or force a bowed panel flat. Keep the panel horizontal during bonding and grouting, then let all products cure before final assembly.
Weigh the finished piece and choose hanging hardware and wall fixings suitable for that load and wall construction. Follow the hardware manufacturer's instructions. If you are unsure about the wall or attachment, seek competent installation advice. Avoid hanging a heavy first project over a bed, a chair or another place where a falling object could injure someone.
Give reclaimed pieces a deliberate rhythm
Reclaimed ceramic can add character, but it needs stricter sorting than new, uniform tesserae. Select clean, sound material of known origin. Leave out flaking glazes, unknown coated fragments, contaminated construction waste and anything you suspect may contain hazardous materials. Do not break antique or unidentified ceramics simply to obtain a color.
Sort suitable pieces by thickness, shape and surface texture before composing. Different heights may work in decorative wall art but make a poor tray surface. Repeat one color or shape to connect mismatched pieces, and use plain new tesserae to give irregular fragments room. Avoid very narrow joints that trap dirt or cannot be properly filled.
Try a small sample with your actual adhesive and grout. Reclaimed surfaces may be porous, stained or more fragile than they appear. If a piece is sharp, unstable or difficult to clean safely, leave it out. The point is to reuse appropriate materials, not to force every leftover into the finished object.
Care for an indoor decorative finish
Use a soft cloth and a cleaner compatible with the tile and grout. Avoid soaking, harsh acids and abrasive pads unless the product system explicitly permits them. Check the underside, corners and hanging points from time to time. A small repair made after identifying the cause is better than repeated cosmetic patches over movement or moisture damage.