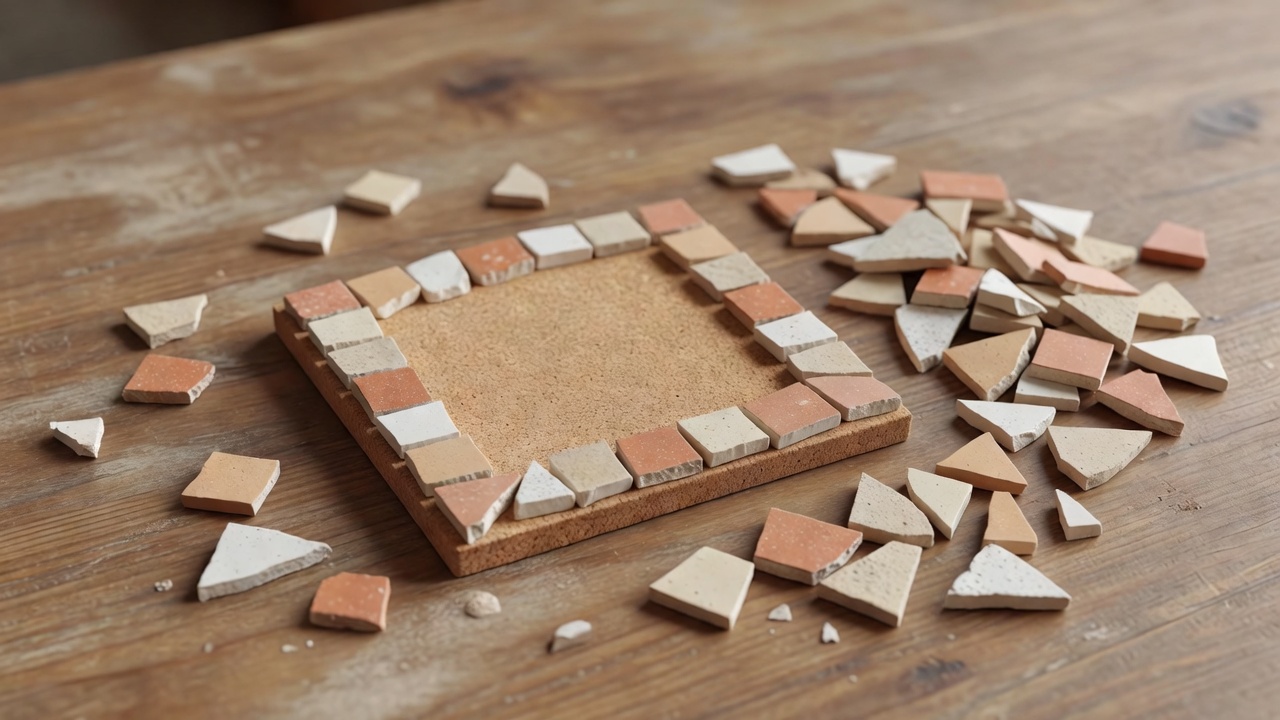
Choose a manageable first object
A coaster is a useful first exercise because you can see the whole pattern at once. Choose a purpose-made, rigid mosaic base suitable for occasional moisture and the adhesive you intend to use. Thin cardboard and flexible plastic are poor substitutes. Unprotected wood-based boards can swell when exposed to water, so do not assume that any small square from the workshop will make a durable coaster.
Start with smooth ceramic tesserae of similar thickness. “Tesserae” simply means the individual pieces in a mosaic. Pre-cut pieces let you learn layout without adding the hazards of cutting. Check every edge by careful visual inspection and controlled handling. Reject chipped, sharp or unstable pieces rather than hoping that grout will hide the problem.
1. Prepare the base and materials
Read the adhesive and grout labels before opening either product. Confirm that they are suitable for the base, ceramic and intended indoor use. Clean the base as instructed and let it dry. If the manufacturer calls for a primer or particular surface preparation, follow that complete system; random sealing or roughening can weaken rather than improve adhesion.
Place the base on a protected, level surface. Set out a small spreading tool, tweezers if helpful, a spacing guide and a container for discarded fragments. Make a paper outline of the base so you can move pieces between the sketch and the work without losing your design. Put product instructions somewhere clean and readable.
2. Arrange the pattern without adhesive
Dry-fit the border first, keeping tile edges comfortably inside the base perimeter. Fill the center with a simple repeat: alternating colors, a diagonal line or one central shape. Avoid narrow gaps you cannot fill properly and isolated slivers that would be difficult to bond. Joint width should suit your tesserae and the grout manufacturer's stated limits, not an arbitrary rule.
Rest a straightedge gently across the dry layout to spot pieces that stand unusually high. A coaster must support a cup without rocking. Replace uneven pieces now, and photograph the arrangement for reference. Leave the outer edge smooth enough to handle safely. Do not use the first project to test sharp glass fragments or a complicated relief pattern.
3. Bond a small section at a time
Lift a few pieces and apply adhesive according to the label, maintaining the specified coverage and bed thickness. Press each piece into place without squeezing adhesive up through the full joint depth. Work in small areas so the adhesive does not skin over before placement. Remove unwanted adhesive from the joints while the product instructions permit safe cleanup.
Keep the base level and undisturbed while the adhesive cures. A dry surface is not proof of a complete cure, especially beneath nonporous tiles. Temperature, humidity, thickness and substrate all matter. Do not bring the project into use or start grouting before the stated readiness point.
4. Fill, clean and let the finish cure
Choose a grout compatible with the tile surface and joint width. Test on spare pieces first, particularly if the tile is porous, textured or easily scratched. Mix and apply only as directed, using the specified gloves, eye protection and dust controls. Pack the joints, then remove excess using the product's recommended timing and a controlled amount of water.
Allow the grout to cure before adding any compatible sealer or underside pad. Not every grout needs sealing, and sealer does not make a vulnerable base waterproof. Keep felt or cork pads away from wet grout and allow their adhesive to cure too. Inspect for sharp edges and loose pieces, then check stability with an empty cup. Treat the coaster as decorative indoor homeware: wipe it gently, avoid soaking, and check the material system before exposing it to heat.
Notice what you have learned
Look for even support, secure pieces and joints that are filled without burying the tile faces. Slight differences in spacing are part of learning; loose pieces and sharp edges are reasons to pause and repair. Save a note about the materials and curing conditions. Your next project will be easier when you can repeat what worked instead of guessing from memory.